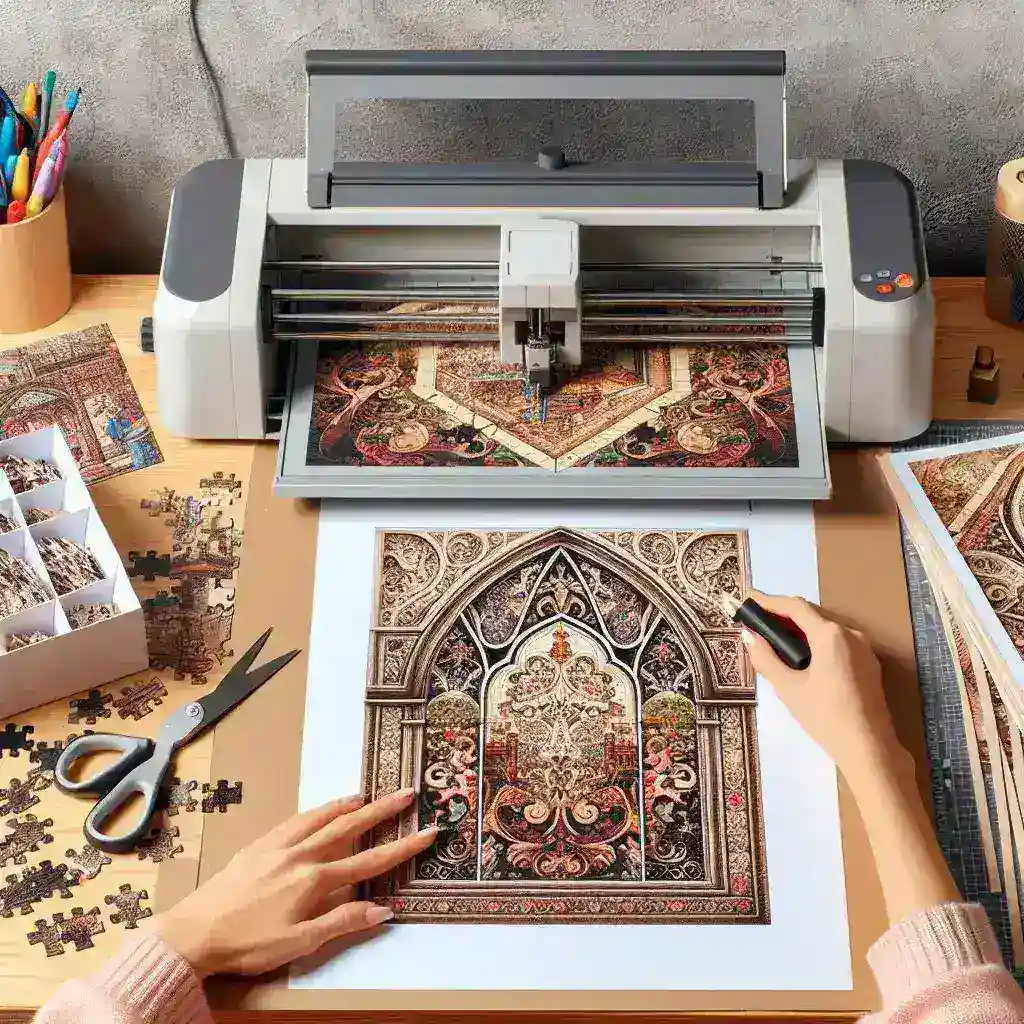
If you\’re looking to create a custom picture puzzle, your Cricut machine is the perfect tool. This machine offers precision cutting, making it a handy gadget for crafting personalized gifts and keepsakes. In this guide, we\’ll walk you through the step-by-step process of crafting a perfect picture puzzle, from material selection to the final assembly. Let\’s get started!
Materials Needed
| Material | Description |
|---|---|
| Photo Paper | High-quality paper suited for printing your selected photo |
| Puzzle Backing | Thick cardstock or chipboard for the puzzle foundation |
| Adhesive | Strong glue or double-sided tape to attach the photo to the backing |
| Mod Podge | Sealing adhesive to protect the puzzle pieces |
| Cricut Machine | Your cutting machine for creating puzzle pieces |
| Cutting Mat | Sticky mat to hold the materials in place while cutting |
| Computer with Design Software | For creating your puzzle template |
| Printer | To print your selected photo |
Step-by-Step Guide to Crafting Your Picture Puzzle
Step 1: Select Your Photo
Start by choosing a high-resolution photo that you want to turn into a puzzle. Ensure the photo is clear and has good contrast. This will make the puzzle pieces more distinct and easier to assemble.
Step 2: Prepare the Photo
Print your chosen photo on high-quality photo paper. Print it in the size you want your final puzzle to be. Allow the ink to dry completely before moving on to the next step.
Step 3: Attach the Photo to the Backing
Using a strong adhesive or double-sided tape, attach the printed photo to your chosen backing material—either thick cardstock or chipboard. Ensure there are no bubbles or creases for a smooth finish. Allow it to dry completely.
Step 4: Apply a Protective Coating
To protect the photo and make it more durable, apply a thin layer of Mod Podge over the surface. Use even strokes and ensure complete coverage. Let it dry completely before proceeding.
Step 5: Design the Puzzle Template
On your computer, use design software to create a puzzle template. You can find pre-made templates online or create your own. Import the template into Cricut Design Space.
Step 6: Set Up the Cricut Machine
Place the photo-backed material on your Cricut cutting mat. Use the sticky mat to hold the material securely in place. Ensure that your Cricut machine settings are adjusted for cutting through the thickness of your chosen backing.
Step 7: Cutting the Puzzle
Load the mat into the Cricut machine and begin the cutting process. Follow the on-screen instructions in Cricut Design Space. The machine will precisely cut out the puzzle pieces according to the template.
Step 8: Assemble the Puzzle
Carefully remove the puzzle pieces from the mat once the cutting is complete. Your custom picture puzzle is now ready to be assembled. Enjoy the satisfaction of putting it together or gift it to someone special!
Tips for a Successful Puzzle Crafting Experience
- Choose High-Quality Materials: Investing in good quality photo paper, adhesive, and backing material will result in a more durable and professional-looking puzzle.
- Precision Cutting: Ensure your Cricut blade is sharp and that the machine settings are correctly adjusted for the thickness of your materials.
- Test Cut: Before cutting your final puzzle, consider doing a test cut on a scrap piece of material to ensure the settings are correct.
- Allow Drying Time: Be patient and allow each layer of adhesive and Mod Podge to dry completely before proceeding to the next step to avoid smudging or bubbling.
- Creative Templates: Experiment with different puzzle shapes and sizes to add variety and challenge to your puzzles.
Conclusion
Creating a custom picture puzzle with your Cricut machine can be a fun and fulfilling project. Not only does it serve as a unique and memorable gift, but it also provides an opportunity to preserve special memories in an interactive format. Follow this step-by-step guide, utilize our tips, and you\’re sure to craft the perfect picture puzzle that will be enjoyed for years to come. Happy crafting!

